Growing Marijuana Outdoors Guide for Beginners
Growing marijuana outdoors is an excellent way to ensure you always have a sufficient supply for yourself on hand. It’s also a lucrative way to make some money on the side.
Some growers may turn to indoor kits to get started. While these purchases are practical, they can be expensive because they offer more concealment and control over the final product.
If you have a safe space to try growing weed outdoors, we recommend giving it a go! A private garden, yard, rooftop, or terrace will work well.
While getting marijuana to bud outdoors won’t consume too much of your money or resources, it will take some patience and dedication. Here’s everything you need to know about growing marijuana outdoors.
Choose the Right Plants Based on Your Area
Just like other crops such as cotton and potatoes, cannabis grows best in certain conditions. Different strains of cannabis will fare differently in various climates.
Consider the following factors when choosing which plant to grow in your backyard:
- Soil
- Rainfall
- Genetics
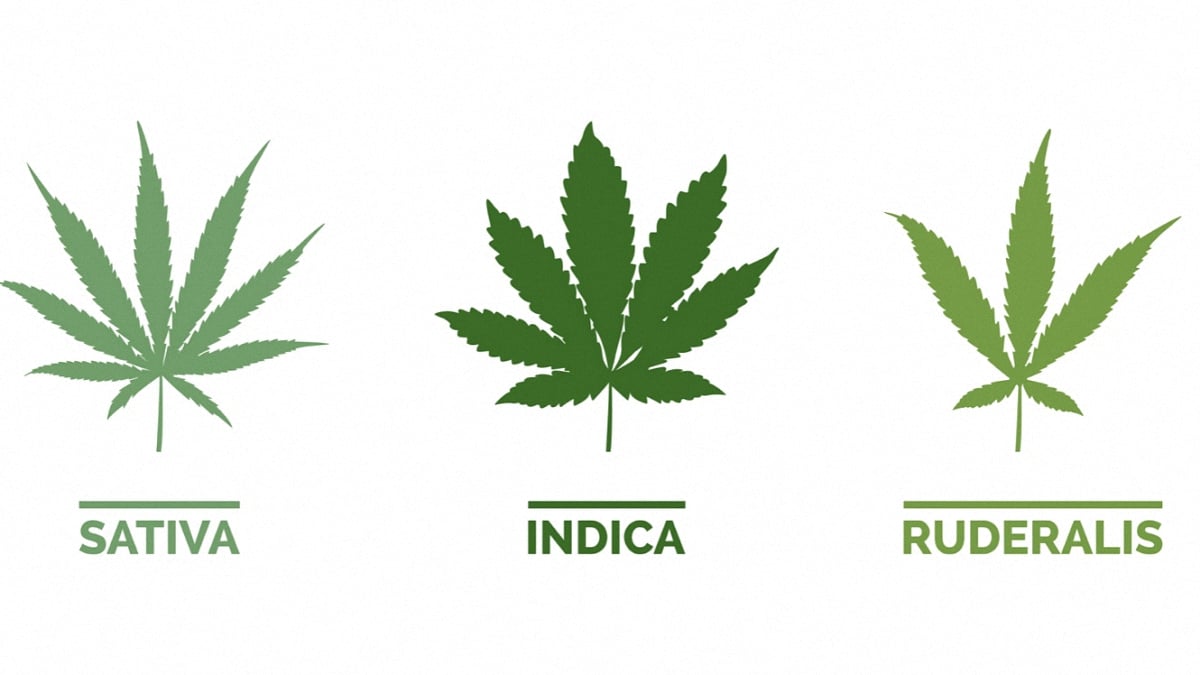
Luckily, cannabis can tolerate a wide variety of climates due to the diversity of its genetics. However, each common strain has its preferred conditions:
Sativa
Sativa does well in areas located near the equator. Sativa’s bud and plant structure are airier than those of other strands. As a result, Sativa can handle high humidity and rainfall, which makes it great for growing in areas with a tropical climate.
Even with their ability to thrive in rainy and humid places, Sativa plants do have a drawback. Their flowering cycles are long, often lasting as long as 14 weeks. This long flowering cycle will be a setback in areas with harsher autumn seasons.
Indica
Indica plants originate from the dry and mountainous areas in the Middle East. They typically have a short and dense bud and plant structure.
Because of this design, indica plants grow well in colder temperatures. They won’t fare well in wet or humid environments, so it’s not worth wasting your time and energy attempting to grow them in a tropical climate.
Unlike Sativa plants, indica plants have a quick flowering cycle that finishes between 7 to 9 weeks. The short growth period makes them an excellent choice for growers in places with short summers and cold fall seasons.
Ruderalis
Growers often use Ruderalis when breeding auto-flowering strains and strains that are high in CBD. It can thrive in cold environments like Russia, Central Asia, and Alaska.
Decide between Seeds or Clones
You may already have decided on the right plant for your area, which is the first step. But now, it’s time to settle on a final decision. Think about how you want to start:
Do you want to grow seeds or clones?
Unsure of the difference? Read on to learn more.
Seeds vs. Clones
Choosing between seeds and clones is a crucial decision to make when growing. Though both will produce the final product you’re looking for, a lot of gardeners have a preference. There’s no right option, but seeds and clones both have their benefits and drawbacks.
Seeds
Seeds are the equivalent of starting from scratch. Typically, they are more robust when they are younger.
However, if you grow seeds, you won’t be able to pick male or female plants. To circumvent this issue, you can purchase feminized seeds, but they are typically more expensive.
Insider secret: Female plants are more desirable. They produce large, seedless buds that marijuana users consume. Seeded buds, which come from male plants, are thought of as lesser-quality cannabis.
So be careful if you use seeds because you won’t be able to tell if your plants have male or female reproductive organs until they have budded.
Clones
Unsurprisingly, a clone (also known as a seedling) comes from a mother plant. Its genetic information is identical to that of its parent organism. Growers use clones to replicate the success of their highest-yielding plants.
While it may seem ideal to use a clone, it can be a lot harder to get a clone to take root than it is to grow a seed from scratch. Seedlings can experience transplant shock. They need precise amounts of water, nutrients, and light to thrive.
Select a Suitable Location for Planting
Once you’ve chosen which kind of plant you’ll grow, it’s time to settle on an optimal location. Take the following factors into account:
Choosing the Soil Wisely
You’ll be hard-pressed to find a grower who uses their native soil.
Most times, you’ll need to adapt your yard’s current soil to create the right mixture for your cannabis. Ideally, your soil should be between a pH of 6.0 and 7.0 and contain an adequate amount of micro and macronutrients.
You can purchase an at-home soil test kit to measure the nutrients and pH levels in your soil. After reading the test results, you should be able to alter your soil’s composition for it to best suit your growing needs.
Clay-based soil will be more alkaline and have adequate nutrients. Sand-based soil will be more acidic, but it will lack a sufficient amount of nutrients. You can add organic matter to your soil to give it the nutrients it needs.
Adding limestone will raise your soil’s pH, whereas ground rock sulfur will lower it. It’s okay if you accidentally over-alter your soil’s composition. You can always reverse the process by evaluating its current state and making adjustments when required.
Consider doing a hydroponics cannabis system. In this kind of garden, you’ll have a nutrient-water solution for your soil. This kind of system requires some sophisticated equipment set-up, so don’t become discouraged if you feel overwhelmed at first.
What Is Coco Coir?
Some people grow their cannabis in coco coir and experience a lot of success. Coco coir is composed of fibrous coconut husks. Growers use these husks as a replacement for peat mosses in potting mixtures.
Coco coir is environmentally-friendly and doesn’t attract insects, so it’s becoming an increasingly popular choice among home marijuana growers. It’s a little more expensive to set up, and growers need to provide nutrients from the very initial stages.
If coco coir or other alternative soil interests you, make sure you consider both the pros and cons before settling on a soil choice.
Assessing Water Quality
We aren’t entirely done with pH yet! Besides balancing your soil, you want to make sure the water quality in your location is as close to 7, or as neutral as possible.
Each area has a different quality of water. Your city water may contain chemicals like nitrates, fluorine, pesticides, and chlorine.
Will you be getting your water from a tap source, a well, or a nearby lake or another body of water? Test your water source’s pH before beginning the growing process. Once you start, test it periodically to ensure the pH level remains consistent.
When You May Need to Plant Indoors
Even if where you live meets the preferences of Sativa, Indica, or Ruderalis in a specific season, you may need to grow indoors if your area experiences:
- High winds
- Extremely high rainfall.
- Long cold seasons due to late spring and early fall seasons.
Growing marijuana outdoors is relatively inexpensive. If you’re unsure if you’ll yield a high amount of product, try it out anyway! You can make adjustments as needed or revert to indoor growing, only if your experimentation doesn’t go according to plan.
Invest in Fertilizer
Even with your soil correctly balanced, you should still invest in fertilizer. Fertilizer is a good idea even if your soil doesn’t need any alterations in the initial stages.
Even though some marijuana plants are notably hardy and can withstand harsh environmental conditions, they still require certain nutrients to thrive. Marijuana plants need three types of nutrients:
- Macronutrients, including nitrogen, potassium, and phosphorus
- Secondary nutrients, including sulfur, magnesium, calcium
- Micronutrients, including boron, molybdenum, copper, iron, zinc, and manganese
These nutrients are essential for carrying out processes like chlorophyll production, transpiration, and plant metabolism.
It’s not enough to let your plant rely on obtaining these nutrients from its surroundings. As each cannabis has a unique set of nutrient needs, be sure to find the fertilizer that will fulfill these demands.
Some growers make proprietary blends, which is a lot cheaper. Plus, you can adapt these blends to meet each plant’s needs.
However, most growers tend to purchase professionally-made blends. With these pre-made mixtures, you won’t create any dangerous chemical reactions or combine substances that shouldn’t go together. If you’re a beginner, it may be best to try store-bought fertilizers at first. Opt for organic products made by trusted brands. These fertilizers will enhance the quality of your soil rather than damage it.
Use your soil test results from earlier to determine what your soil needs to support your cannabis plants.
Figure out Your Watering System
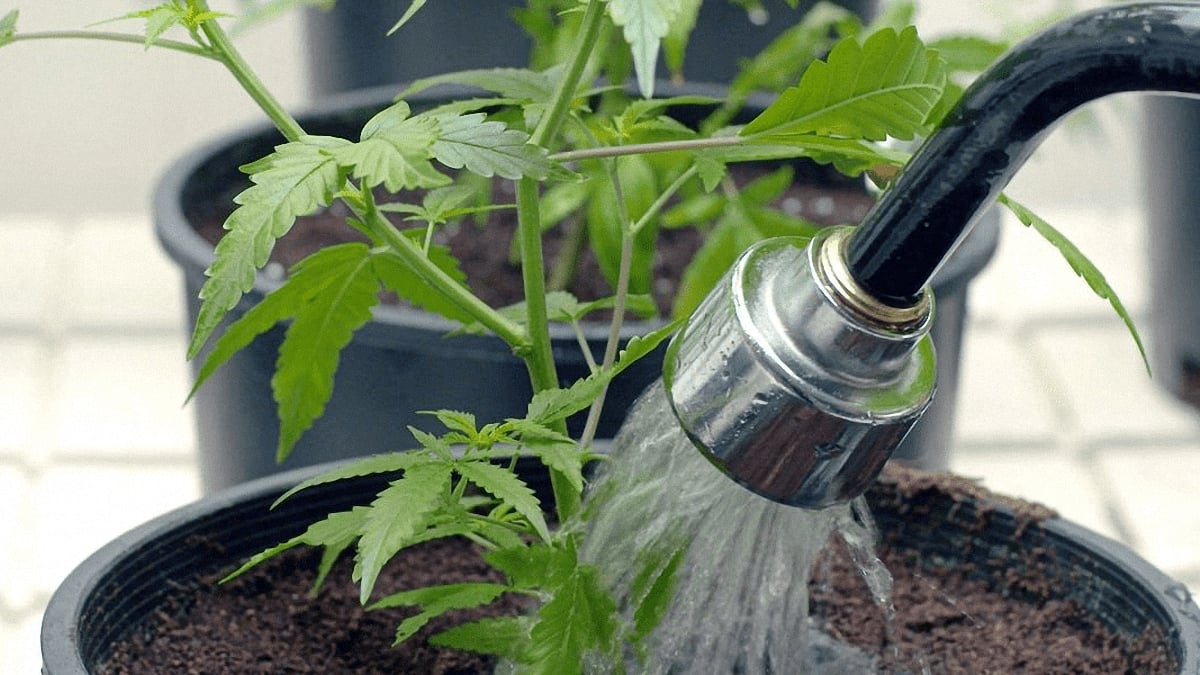
While you figured out the water quality in your area in the previous step, you must now determine what your watering system will be.
Some marijuana plants can require up to multiple gallons of water a day. With smaller plants, you can get away with a lot less water per day. The watering system is essential to get right because it delivers nutrients to your plant.
If you’ve settled on a lake or river as your water source, consider planting your garden strategically. Opt for planting your garden near this river or lake, so the body of water can do your watering job for you.
- Location: With the spot you pick, choose a bed location that’s not too heavily-frequented by animals or humans. Animals can destroy the product you worked hard to prepare, and humans can report you for growing weed.
- Rainwater: Another way to water your plants is to collect rainwater in a large tank or barrel and then use a watering can for distributing the water. This method will save on the water you use from home and can ensure each plant gets all the hydration it needs.
- Irrigation Systems: Some growers opt for more intricate irrigation systems that incorporate rainwater, drip systems, timers, and pumps. These systems are a great way to optimize rainwater and direct it precisely where it needs to go. If you’re in an industrial area, we advise against this method, as rainwater is often too acidic in densely populated areas.
Is There Such Thing as Too Much Water?
Even if you have the best intentions in mind, overwatering is very probable. Water each plant at its base and do so thoroughly. Before watering again, wait until the top inch of soil is completely dry. The process may take anywhere from a day to several days, depending on the plant’s size, type, and climate.
Plants that are in particularly hot or windy areas will lose their water more quickly. Give extra attention to these and water them more often.
Purchase High-Quality Containers
Once you’ve figured out the perfect formula for your soil, you want to preserve it, right?
Instead of beginning the planting process in the ground, consider using some high-quality containers to get started.
By using containers, you can control the soil your plant receives. You can skip digging holes in the ground and changing the entire composition of your backyard’s soil.
We love using containers because they’re easy to transport. You can experiment with outdoor areas like your rooftop deck, patio, or other location. It’s also super simple to readjust your plants’ position throughout the day. This way, you can limit their exposure to rain, wind, heat, and light.
If you use containers, you have a lot of options. Buckets, barrels, and pots will all do the trick. Keep in mind that the amount of product you’ll be able to produce will be smaller than if you plant your marijuana seeds in the ground. A container will undoubtedly limit your plant’s potential for root growth. However, even large plants can grow in pots with the right approach.
Potted plants tend to warm up and retain heat more quickly than in-ground plants. You can cover their roots with mulch to protect them from overheating.
Get the Process Started
With all of your materials prepared and a solid plan in place, it’s time to begin. Follow this timeline to start growing:
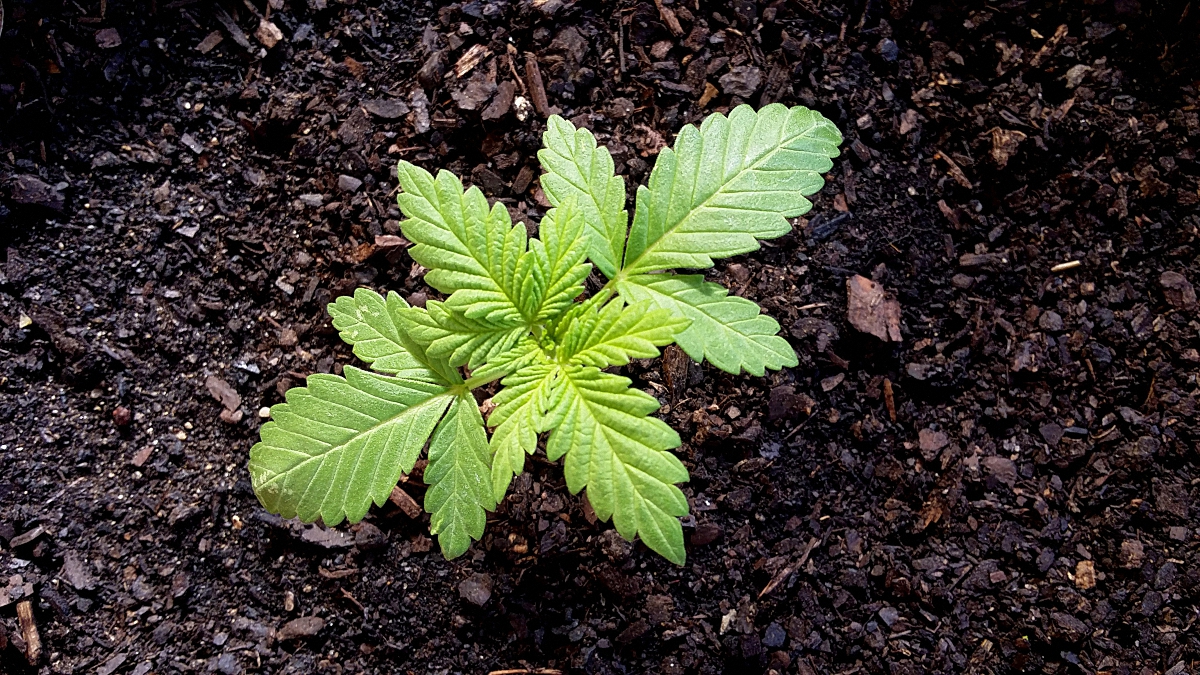
- Germination: Germinate and grow your seeds indoors. It usually takes about 3 to 7 days to sprout a seed. Some growers in warmer climates will complete this step outdoors. However, if you live in a colder environment, we recommend starting indoors.
- Sowing. After the first week, you can relocate your plant to the great outdoors. In this stage, your plant will begin receiving the sunlight it needs to thrive.
- Topping. Top (cut the top part of your plant off) several times throughout the growing season. Topping promotes outward development and increases its overall yield.
- Pruning. As they develop, you’ll need to clean up your plants a little. Cut off lower branches and dead leaves. Pruning gives your plant the energy it needs to produce more buds.
- Harvesting. Typically, you should harvest Indicas first and Sativas second because of their growing tendencies. Monitor your plants and harvest them efficiently to prevent the growth of mold and development of diseases.
Feel free to adapt these tips along the way, as you may encounter some unforeseen problems.
Problem Diagnosis
As rewarding as growing cannabis outdoors can be, it can also come with inevitable frustrations. You may have put in thorough planning into the initial stages and invested a lot of resources in the growing process itself. No matter what you do, sometimes you can’t avoid what nature throws at you.
Your cannabis plant may develop abnormalities that can affect its long-term health. Be able to identify some of a marijuana plant’s most common defects and recognize what’s causing them:
- Yellow or Burnt Leaves: Yellowing is a sign that your plants are getting too much light exposure. Quickly fix this issue by relocating them to a spot with more shade. Or, create shade in their current location with a fabric cover or something else that can offer an escape from the sun’s harsh rays.
- Pink or Red on the Leaves: This coloring is a sign of molybdenum deficiency. Alter the fertilizer you’re using to ensure it contains more Mo for your marijuana plant.
- Limp Leaves: Limp leaves are a sign of underwatering. Remember, water your plants generously so that the top layer of the surrounding soil is moist.
- Curled Leaves and Brown Spots: Wavy, burned-looking leaves are indicative of windburn. Move your plants out of direct wind exposure or build something to protect them from your area’s heavy gusts.
- Leaves with Holes and dotted with Black Specks: These unsightly leaves may mean that caterpillars are overtaking your plant. To get rid of unwanted pests, use an all-natural pesticide. Be sure to spray all parts of the plant, including the underside of the leaves, to keep bugs at bay.
- Yellow “Bananas” Growing on the Buds: While these aren’t necessarily indicative of a problem, yellow “bananas” on your plants’ buds reveal that your plant is male. Consider getting rid of these male plants, as they don’t produce smokable buds. It’s best to focus your time and energy elsewhere on more fruitful female plants.
These are some of the most common issues you may come across with your marijuana plants. If you notice one or more of these issues pop up along your growing journey, don’t become discouraged. Take these little setbacks as a way to learn and perfect your gardening skills.
Final Thoughts
Take all of these factors into consideration when growing marijuana outdoors. It may take some experimenting at first. However, with persistence, you should be able to generate a significant yield in no time!